Field Guide

Guides

Short, practical walkthroughs for getting things done in GearLogs.

4.1

Set Up Your Board

Create a tab for each department, add groups inside it, and place your items or people. Every tab and group carries a permanent reference code and its own colour. A Logistics group card shows, above its list, a ring of stock split into in stock, in use and in repair, a column chart of the last 30, 60 or 90 days of activity, and who currently holds the group’s gear, by department. Edit Layout lets you move a group earlier or later and set how many columns it spans — groups stack in independent columns, so a short group never leaves a gap under it — while how many groups sit across a row is your own display setting. Reorder tabs from a tab’s Edit dialog; drag a card to another group or tab and confirm the move.

4.2

Assign & Return Equipment

Assign items with quantities — open the person, or use the quick Assign button right on an item's card and pick the person from a searchable list. Process returns when equipment comes back. Stock adjusts automatically and every step is recorded. A hand-out is refused by name, with the same sentence wherever you try it, when the item is sensitive and you lack the right, or when the person or the item has been archived; in the bulk sign-out a row you may not hand out is greyed with a small (i) that says why, and lines for the same item are added up before stock is checked.

4.3

Sign Out for a Team

A department head can sign out a batch of gear in one step and hold it all under their name — pick everything from a checklist, set quantities, and confirm once.

4.4

Build Your Dashboard

Add Widget opens a gallery of ready-made widgets — activity by type or by user, items by group, people by department, units by status, capacity fill, headroom, expiring, write-offs and more — pick one, name it, done. Or Build your own: choose a source (Inventory Items, Personnel, Activity Logs, Write-offs, Registry or Board shortcuts), answer plain questions — count what, filtered how, grouped by what — and pick only a visual that can honestly show it, with a live preview as you go. Activity and write-off widgets follow the dashboard period or own one, from 7 days to all time; trend charts group by day, week or month; lists show every row or the top 3, 5, 12 or 25; every timed card states the window it shows. Size any widget on a grid up to four columns wide and two rows tall; a card keeps its size and a long list scrolls inside it. Each widget says who sees it — everyone, administrators or only you.

4.5

Control Who Has Access

Give each member a role, or fine-tune exactly what they can view, edit, and manage. Members are listed by name, with an optional ID field of your own you can name to suit your organisation. Everyone sees only the areas they're meant to — and permanently erasing records is reserved for a Super Administrator, so nothing important is deleted by accident. Any right except Manage Users can also be granted to a person on top of their role: the checklist in Users › Edit marks what is “Included in this role” and what is administrators-only, and a role’s own rights are never taken away. Staff contact details — phone, email, notes — are a right of their own (“View contact details”), held by administrators and operators by default; members without it see a small lock in place of the contact markers, the workspace itself withholds the data, and whoever cannot see a detail can never overwrite it. Every change a member makes is checked by the workspace itself against their acceptance of the current Terms of Service and Privacy Policy.

4.6

Review Your History

Use the Logs button on any person, group, or tab to see everything that's happened — assignments, returns, and dispensing — going back twelve months, colour-coded and naming who did what.

4.7

Retire People & Write Off Gear

When equipment is lost, damaged, or never comes back, write it off — the count drops and the loss is recorded. To retire someone who left with their gear, write off everything they hold and archive them in one step. Find retired people, archived equipment, and every write-off together in the Archive, and restore or recover anything from there. Archived records reach only members who can open the Archive — search follows the same rule, so nobody is offered a record they cannot open — and renaming a location, rank or department reaches archived records too, so nothing comes back under a stale name. Losses are flagged right on the person and item cards — open one to see its full loss history — and loss dashboards show the trends by reason, team, and item.

4.8

Track Serial Numbers in the Registry

Turn on serial tracking for an item, then register its units one at a time, in bulk, or by importing a spreadsheet. Group units into lots, assign a specific unit to a person, and move or send a unit for repair from its menu — every hand-off is recorded for you. Sending a unit for repair asks for a reason, and the reason travels with the unit into its history.

4.9

Look After Your Own Sign-In

Every member manages their own sign-in from Settings › Security: change a password (the current one is asked for first), set up two-factor, and keep recovery codes. A forgotten password is recovered from the sign-in screen with a one-time code sent by email. A password change signs out every device, this one included — each lands on a screen that says so, and you sign in again with the new password.

4.10

Manage Your Subscription and Seats

Administrators run billing from Settings › Billing. Pick monthly or yearly, set the seats, see the total, and pay by card in Paddle’s secure window — the workspace is active the moment the payment is confirmed. A seat is a person who can sign in; disabling someone frees their seat at once. Change seats or switch cycle later from the same screen — the exact amount is shown before you confirm, and yearly saves two months. Cancel there too: access runs to the end of the paid period, and one click resumes before then. Invoices list on the screen; the PDF and your payment method open at Paddle. If a payment fails, you are told in the app and by email while it retries. Money coming back has its own lines in the same log — a refund requested, issued, declined or reversed, and a credit issued or reversed — because Paddle reviews a refund before it pays out.

4.11

Track Warranty and Service Contracts

Put a warranty date on a lot, or on a single unit when it differs — after a repair, say — and record service contracts on the Registry’s Contracts tab: provider, contract number, coverage type, dates, notes and cost. Attach a contract to individual units or to a whole lot; a unit’s Warranty dialog always shows which date applies and where it comes from. As dates approach they change colour across the app, the Registry’s Expiring count jumps to the units that need attention, the board shows a clock on the product, and the Expiring widget lists the most urgent first. You choose how many days ahead the warnings begin, in Organization Setup; cost is visible to managers only.

4.12

Reports, Exports and Backups

Data Ops › Exports holds ten ready-made reports across logistics, personnel, the registry, the archive and activity — from the Full Inventory Audit and Current Hand-outs to the Serial-Unit Register, Contracts & Coverage, the Write-offs Ledger and the Full Activity Log. Each downloads as CSV or a real Excel workbook, or prints as a proper report page (the reliable route to a PDF, Hebrew included), and reads your complete records. The same three buttons sit on the activity log, the archive tabs and the billing log, exporting the view as you filtered it. A Super Administrator can take an encrypted whole-workspace backup from Data Ops › Maintenance at any time; only your passphrase opens it. Exporting keeps working even if your subscription lapses.

4.13

Find Anything

The search box at the top of every screen finds items, people, departments, groups, team members (administrators only), units, lots, service contracts and archived records — by name, reference code, serial or lot code, location, designation, department, manufacturer, model, category, SKU, GTIN, email, phone and the notes you wrote. Type a fragment: the board behind the box thins to the matches while the results group by type, best first, with the matched text highlighted. Click a result to go straight to it; on items, people, units, lots and contracts, a group with more than five matches ends in “Show all 12 items”, which carries your search onto that screen. Moving to another screen clears the box, so a stale search never follows you. A result whose name does not contain your word says where it matched — “Matched on notes”, “Matched on location”.

4.14

Make GearLogs Yours

Settings › Display is yours: text size (1–10), how many groups sit across a board row (1–6), whether action buttons are always shown or appear on hover, one of five themes — Spec-Sheet, Light Mode, Dark Mode, Tactical (Army) and Clinical (Medical) — and your language, English or Hebrew, which also turns the whole app right-to-left and sets the language of your emails. Theme and language are stored on your account and follow you to every device; the other three stay with the browser you set them in. Nothing you choose repaints a colleague’s screen. Administrators set the workspace defaults everyone starts from, and “Use workspace defaults” takes you back to them in one confirmed click. Theme and language also switch from the header, without opening Settings.

4.15

Turn On Two-Factor Sign-In

From Settings › Security, “Set up my two-factor” shows a QR code for your authenticator app (Google Authenticator, Authy and 1Password all work), asks for the six-digit code, then shows ten single-use recovery codes — copy them now, they are never shown again. From then on the card tells you where you stand — Not set up, Set up — verify to manage, or Verified this session — and “New recovery codes” replaces the set at any time. An administrator who has verified their own two-factor can require it for the whole workspace with “Turn on”: every member is asked to set it up at their next sign-in, and from then on every change needs a two-factor-verified sign-in — reading is never blocked once you are in. Lost your device? “Use a recovery code” at sign-in clears the old authenticator and walks you into a new one; administrators can also reset a locked-out member’s two-factor from the Users screen. Turning two-factor on or off is noted in the bell whichever way it happened, and an administrator’s reset says so once. If several wrong recovery codes are tried on an account in a short time, the account and every administrator of the workspace are told, by member code — nothing is locked, and a wrong code is still simply a wrong code.

4.16

Get Support Inside the App

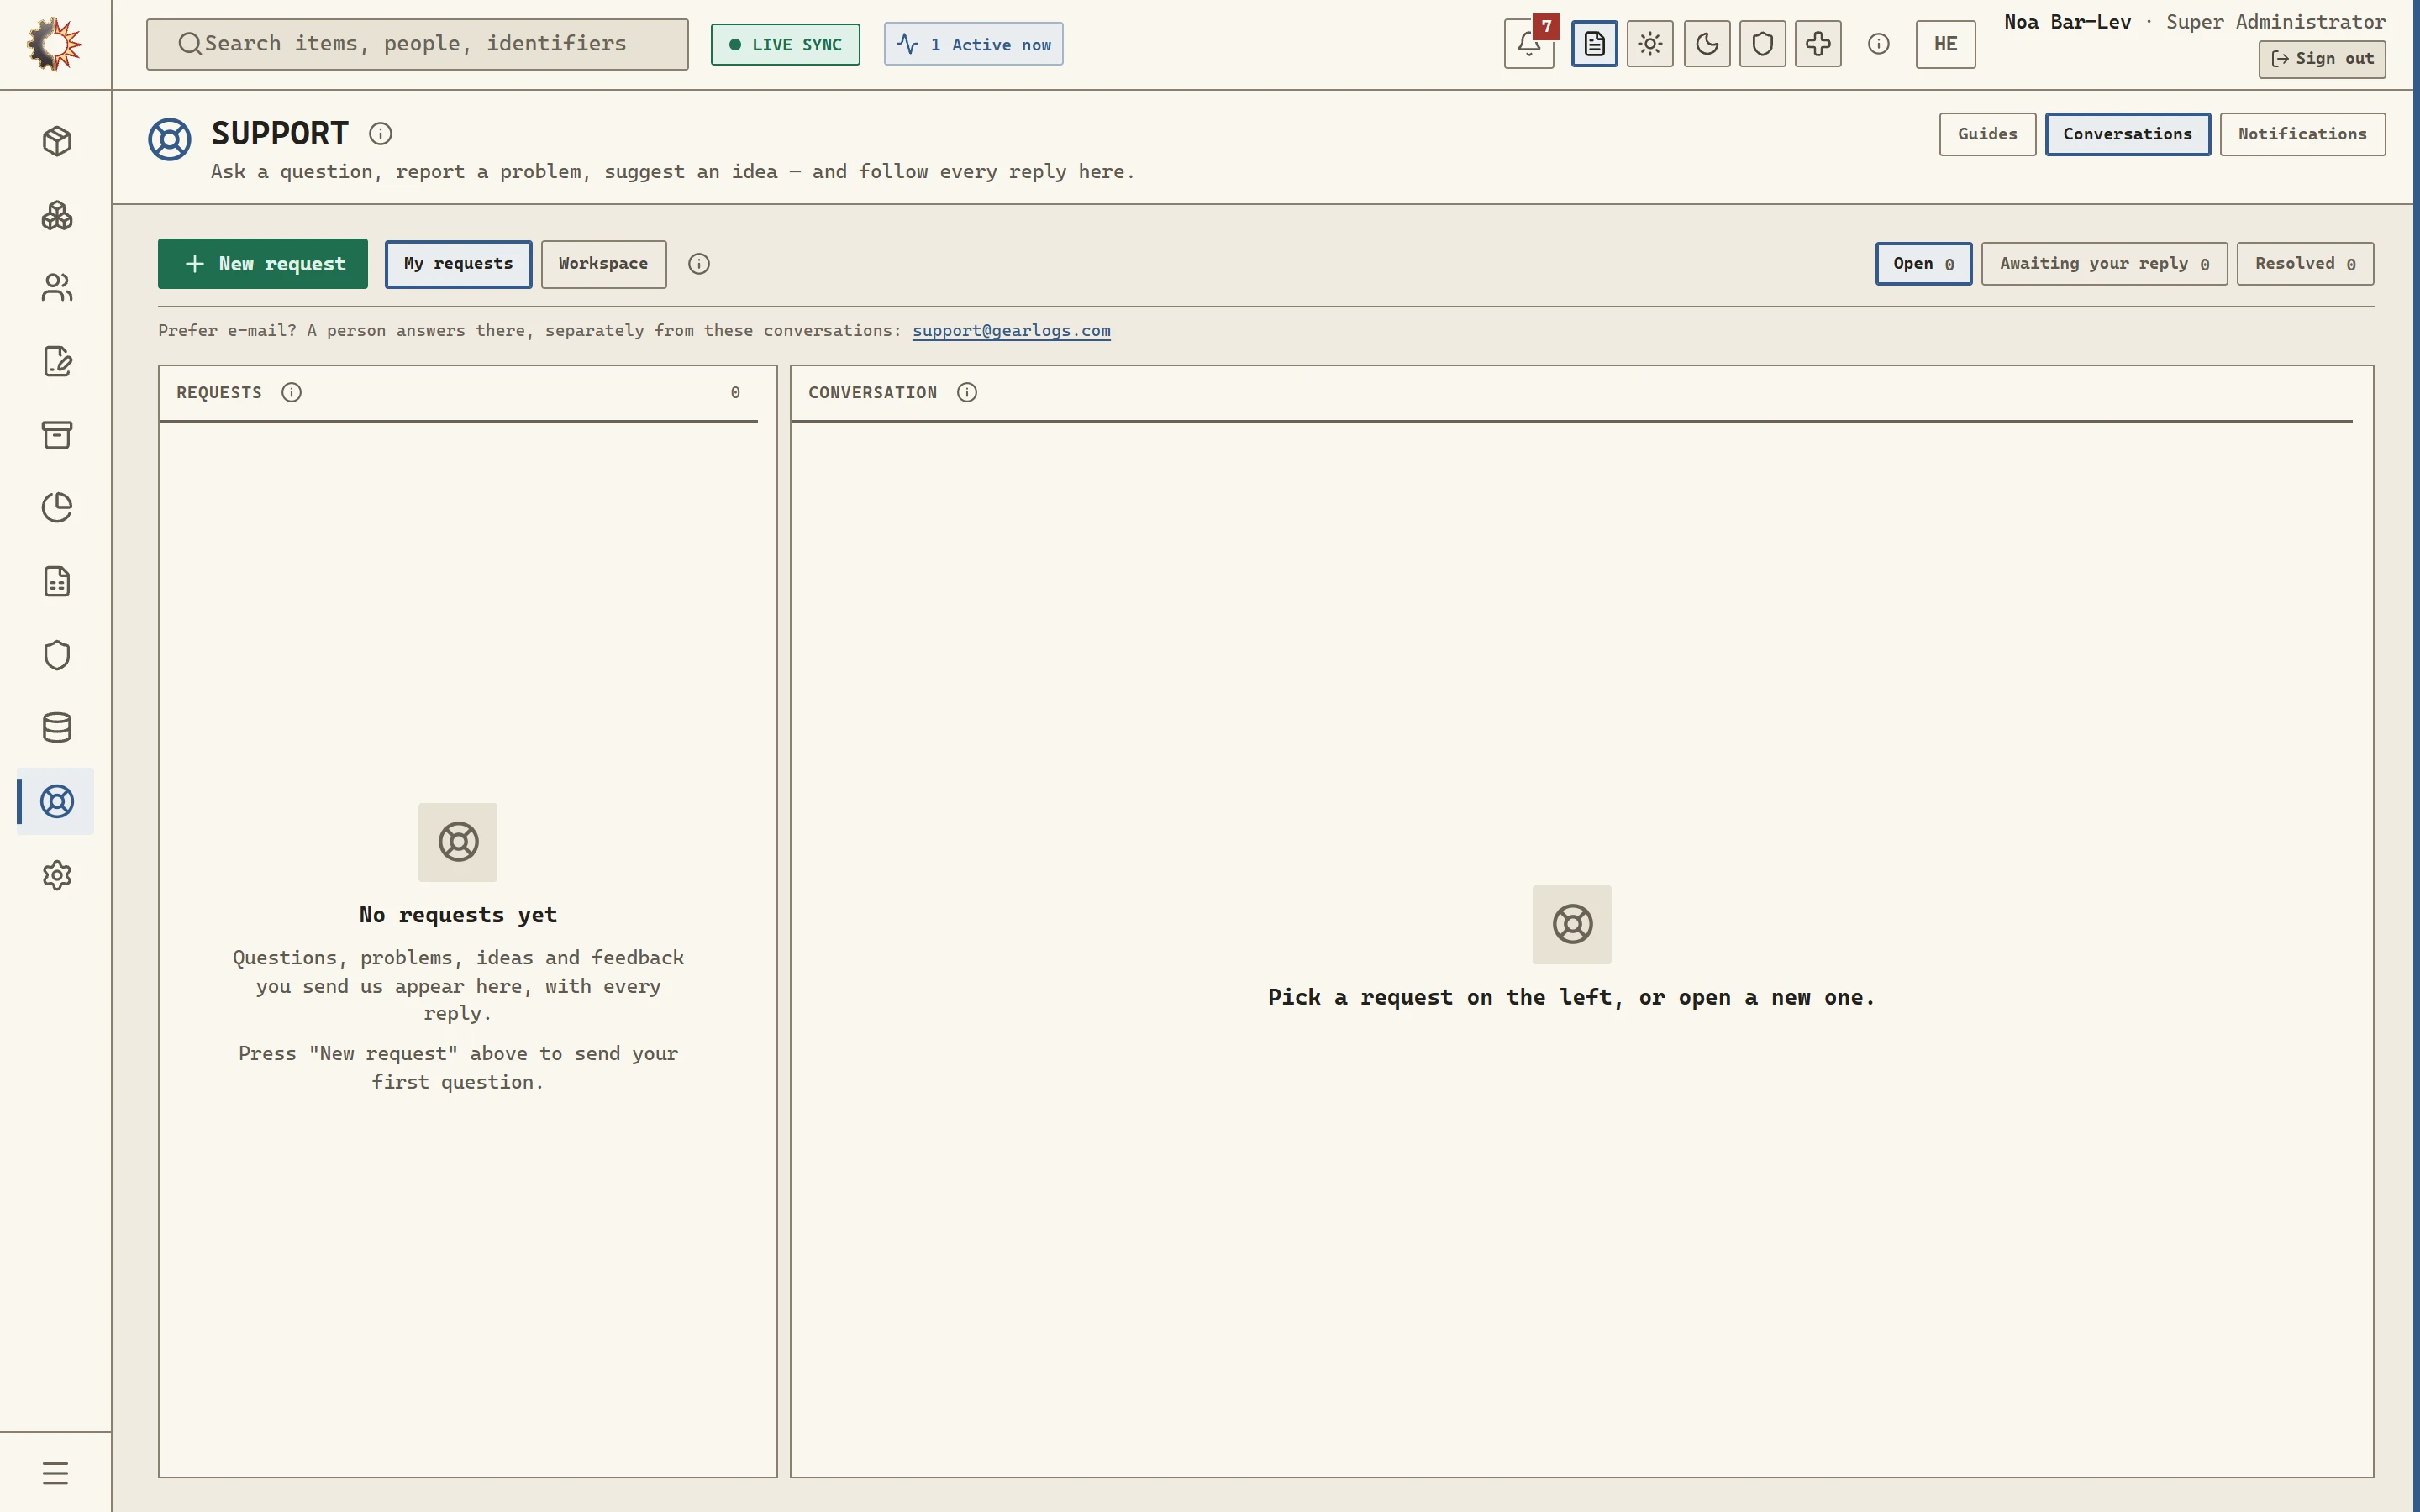
Open Support in the sidebar and press New request: choose Question, Problem, Feature idea or Feedback, add a subject and the details (a Problem can point at a specific item), and send — you get a permanent reference such as SUP-014. Each request is a two-sided conversation with GearLogs Support; a reply reaches you in the bell, by email with a link straight back, and as a badge on the sidebar’s Support entry until you open it. Mark a request resolved yourself, or reopen it — sending a new message on a resolved request reopens it too. Administrators can switch the list from My requests to Workspace to see every request their team filed. A message holds up to 4,000 characters: the counter beside the box turns amber as you near the limit and red past it, with a line that says by how much — nothing you pasted is ever cut, and Send waits until it fits. Attachments are not accepted yet; quote reference codes instead. We usually reply within one business day.

4.17

Set a Storage Capacity

Give an item a Storage capacity in its form and a small meter appears beside its STOCK badge — green for what is in stock, blue for what is out and gold for what is in repair; everything you are responsible for counts, and written-off gear frees the room. Adding stock or registering units past the ceiling is never refused: the app asks “Record it anyway?” with the exact numbers, and records it if you say so. The line is crossed only above the capacity, and the meter turns red when it is. Capacity, held and headroom appear in the Full Inventory Audit and in three ready-made widgets — Capacity fill, Headroom and Over capacity — while the health check on Data Ops › Overview counts the items that are over. Administrators hear the moment an item goes over, once per crossing. Leave the field blank and there is no ceiling, no meter and no checks.

4.18

Choose What You Are Told About

Settings › Notifications has two columns, In-app and Email, and a row for each kind of notice. Everyone chooses their own: gear assigned to me, my return recorded, gear in my custody written off, a new sign-in to my account. Below them sit the always-on rows everyone gets: password, two-factor and recovery changes, and replies on your support requests — including a reminder if you leave one unopened. Administrators see two more optional rows — an item goes over its storage capacity, an item runs low — and two always-on rows of their own: a new administrator added, and payments, invoices, seats and subscription changes. Untouched rows follow the workspace default an administrator sets (in-app on, email off out of the box), and “Use workspace defaults” puts your own choices back in one click. In-app notices land in the header bell — a dash there means the count could not be checked yet — and the full history lives under Support › Notifications. Emails arrive in your own language.

4.19

Import from a Spreadsheet

A preview shows how the file was read before anything is written, so you can check it against what you meant to import. Quantity and capacity columns take whole numbers only. Rows held back land in the conflicts queue with their reason attached — the reason reads in your language — and the clean rows still import. The staff CSV is different: a rule-breaking row refuses the whole file by row and field before any record is written.

4.20

How Dialogs Work

Every dialog in GearLogs is built the same way: a title bar with a close button, the content, and one shelf of buttons underneath — Cancel and the main action at the end, Archive or Delete in red text at the start, a single Close on dialogs that only show things. A form judges nothing while you type: a field turns red only after Save refuses it, a plain line under it says why, and a banner counts the fields to fix and takes you to the first. When an action cannot be done — a person still holding gear, the last administrator, a location still in use — the dialog stays open with the reason in red and the button greyed. Every dialog is announced by name to a screen reader and returns focus to where you were when it closes.